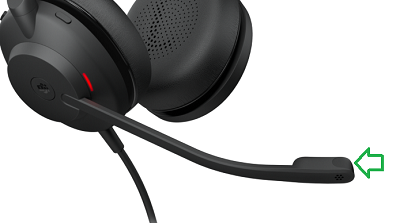
My office Jabra headset got damaged. Water entered inside the microphone part and the usual techniques like hair dryers didn’t do the trick. Voice was not clear (sounded like I was in water) and it couldn’t be used in this condition. If you already have a basic setup to solder, this is a 2 dollar fix.
BEWARE
Try normal cleaning, drying techniques before attempting below. If you have warranty or want a cleaner repair, its better to connect with the customer service or authorized repair. Since we are replacing the headphone part itself and this will void any sort of warranty. The microphone quality which comes from OEM will be better compared to spares in the market.
Disassembly
Pull the microphone rubber part out slowly. This should expose the microphone itself.
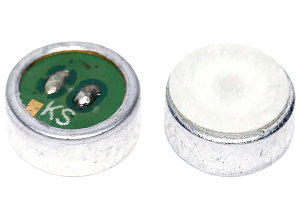
Electret Condenser
Take out the microphone piece from the rubber structure and you can see the electret condenser. If you are troubleshooting a different headset take the measurements of it. Mine was 6mm (diameter) x 2.6mm (height). Diameter matters more than the height. Do some more research and identify the exact replacement part like Frequency, Sensitivity etc.
Purchase
I bought the replacement microphone for 2 CAD as below from a local electronics shop (Sayal Electronics). These things are tiny so you would need some basic setup like magnifier, soldering iron etc.
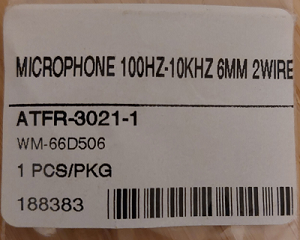
Try to purchase the one like below without additional pins so it fits in the rubber structure of the headset. Mine had wires attached to the microphone which was okay. Solid pins attached to the microphone may not work.
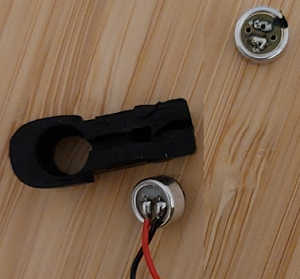
Replace
As in the picture, you can solder the new microphone in place of the broken one. Be mindful not to have much extra wire or pins, since these extras may not fit back in the headset’s microphone structure where it was pulled out during disassembly. Before pushing it back inside, test the headset.